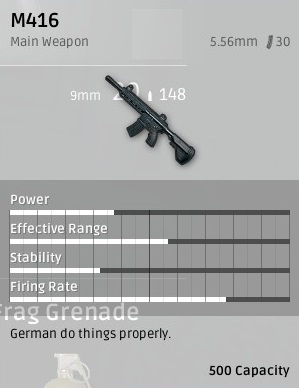
M416The M416 takes 5.56mm ammo, and is the only assault rifle with 5 attachment slots. This gives it the best overall stats once it’s fully kitted out, though don’t expect that to happen in every game. If you already have those attachments, picking this up is a no-brainer – the only instance where I wouldn’t swap to it is if a match is nearly over and I don’t think I’m going to find any more.
Ammo: 5.56mm
Ammo Capacity: 30 stock, 40 extended
Attachment Slots: 5
 AKM
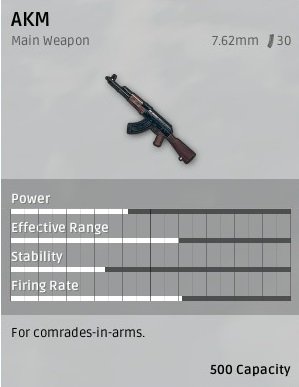
AKMThe AKM uses 7.62 mm ammo, and does the most damage per hit of all the assualt rifles: 2 headshots should be enough to take out anyone who isn’t wearing a level 3 helmet. However, it has more recoil and bullet drop, and can only take a barrel, magazine and sight attachment. The high damage potentially makes it the best assault rifle for taking single shots at a long range, but only if you’re good enough to land them.
Ammo: 7.62mm
Ammo Capacity: 30 stock, 40 extended
Attachment Slots: 3
 M16A4
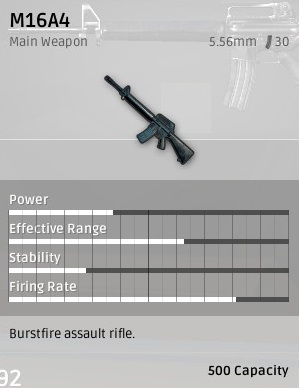
M16A4The M16A4 does slightly less damage than the AKM as it uses 5.56mm ammo, but has a higher bullet speed that makes taking long range shots easier. It’s got space for a scope, barrel and magazine attachment, and has a burst-fire mode rather than full-auto. Spamming burst-fire actually does more damage at close range than the full-auto of other assault rifles, which also makes this the best choice in this category for short-range engagements.
Ammo: 5.56mm
Ammo Capacity: 30 stock, 40 extended
Attachment Slots: 3
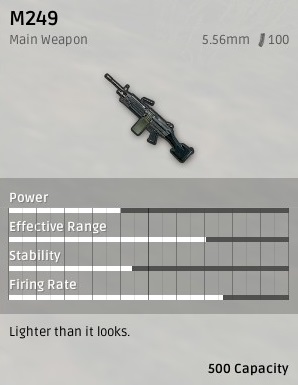
 M249
M249The M249 is an airdrop only light machine gun capable of destroying a squad filled vehicle in the blink of an eye. The only thing this gun can cut through faster than a car is your ammo supply which makes
the M249 a niche weapon better suited for having fun than winning a round.
Ammo: 5.56mm
Ammo Capacity: 100
Attachment Slots: 1
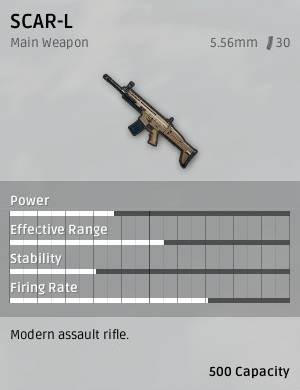
 SCAR
SCARThe SCAR shoots 5.56mm bullets, takes every attachment other than a stock, but has the worst stats of any assault rifle. It’s one saving grace is that the recoil is a little easier to control than with other weapons, but you should still only use it if you can’t find anything better.
Ammo: 5.56mm
Ammo Capacity: 30 stock, 40 extended
Attachment Slots: 4
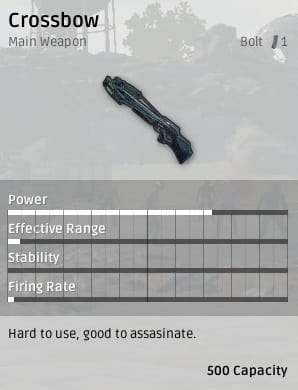
 Crossbow
The Crossbow has good damage and is naturally stealthy, but the downsides far outweigh the positives. It’s got a long reload time between each shot (although that was recently increased by 35%) and there’s a large amount of drop on each bolt, making it too unwieldy to be used effectively.
Ammo: Bolt
Ammo Capacity: 1
Attachment Slots: 3
 Sniper rifles
This might sound a little counter-intuitive, but a sniper rifle won’t always be your best bet for long range headshots. The VSS is better suited to close range engagements, and any assault rifle with an 8X scope will be more than capable of taking enemies out at a distance – especially the M16.
VSSThe VSS is a sniper rifle, though the huge amount of bullet drop on each 9mm projectile makes it difficult to use at anything other than close range. The advantage it has over other weapons is that it comes with an inbuilt suppressor and a scope, which you can use to take shots at a longer range once you’ve learnt how. A VSS can be surprisingly useful in the late game, when the circle has shrunk down and not giving your position away is even more important than usual.
Ammo: 9mm
Ammo Capacity: 10 stock
 Mini-14
The Mini-14 DMR is the latest gun to be added, and uses 5.56mm rounds. It fires in semi-auto with 20 rounds in each clip, and the minimal amount of bullet drop on each shot means that it can compete with the M16 and SKS at long distances. It’s got space for a muzzle, magazine and sight attachment. It does more damage than the M16, and is better at medium range than the SKS – making it my preferred choice over those two.
Ammo: 5.56mm
Ammo Capacity: 20 stock
Attachment Slots: 3
 SKS
SKSThe SKS is a semi-auto carbine rifle that uses 7.62mm bullets, and has space for all 5 attachments. While each shot can do a considerable amount of damage, the gun is held back by high recoil and the low spawn rate of sniper rifle attachments.
Ammo: 7.62mm
Ammo Capacity: 10 stock, 20 extended
Attachment Slots: 3
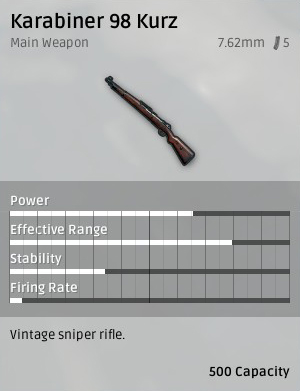
 Kar98K
The Kar98K is a bolt-action sniper rifle that fires 7.62mm rounds, and does the most damage of any non-crate weapon: it can kill anyone with a level 2 helmet in a single headshot. As you’d expect from a bolt-action rifle, however, it’s got an incredibly slow firing rate – making it the best non-crate weapon for long ranges, but difficult to use in any other situation.
Ammo: .762mm
Ammo Capacity: 5
Attachment Slots: 3
 M24
M24The M24 is an airdrop only sniper rifle that is more versatile than the KAR98K. It has slightly less range and power than the AWM but uses the more common 7.62mm ammo type making it the most reliable sniper rifle in the game.
Ammo: .762mm
Ammo Capacity: 5 stock, 7 extended
Attachment Slots: 4
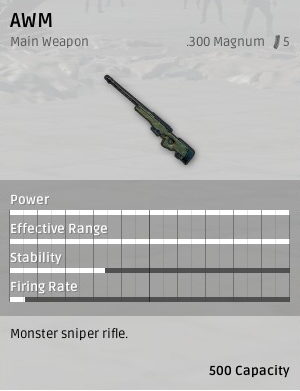
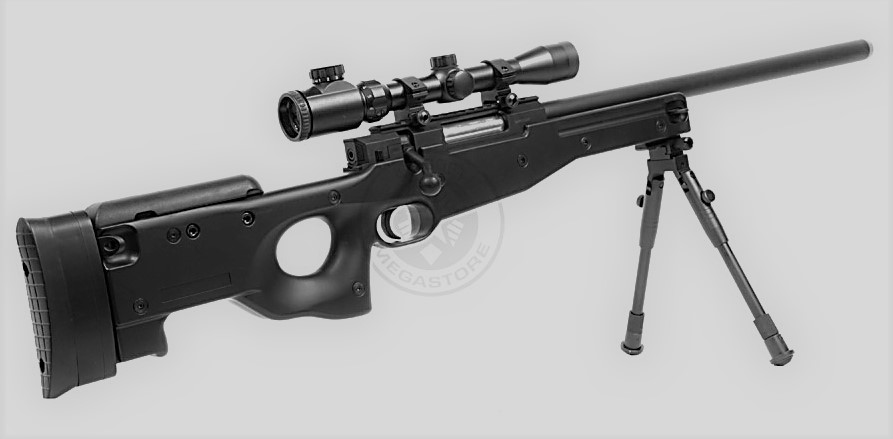
 AWM
AWMThis airdrop only sniper rifle boasts the maximum range and power for any weapon in the game as well as being highly customizable. The scarce .300 magnum ammo type is the one downfall to this sniper rifle butthe name alone will have your opponent’s hiding behind any cover they can find.
Ammo: .300 Magnum
Ammo Capacity: 5 stock, 7 extended
Attachment Slots: 4
 AUG
AUGWhile the AUG A3 is a great weapon, and it is a bit better than the M416, it still loses to such rifles as the Groza and AKM in terms of power and damage. So, it's definitely a worthy choice, but it most definitely does not deserve to be a crate-only weapon.
Ammo Type: 5.56
Magazine Size: 30
Extended Magazine Size: 40
Capacity: 500
Groza


 ]
]

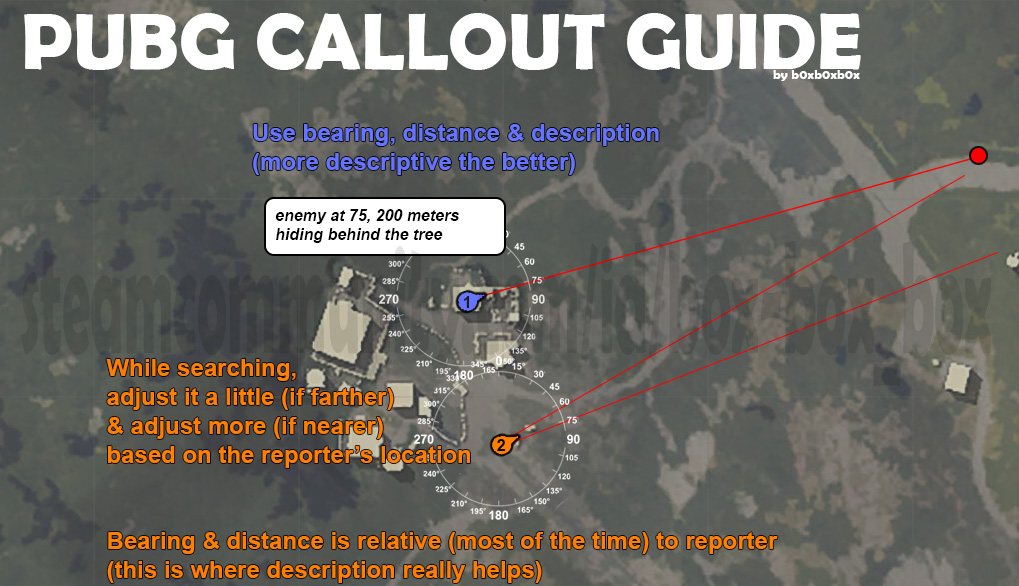
 You should aim for a small cluster of houses when landing and quickly get to looting. Prioritize on getting meds and gasoline, since you'll need it later. For weapons just pick up whatever, your main weapon will be the front of the Dacia.